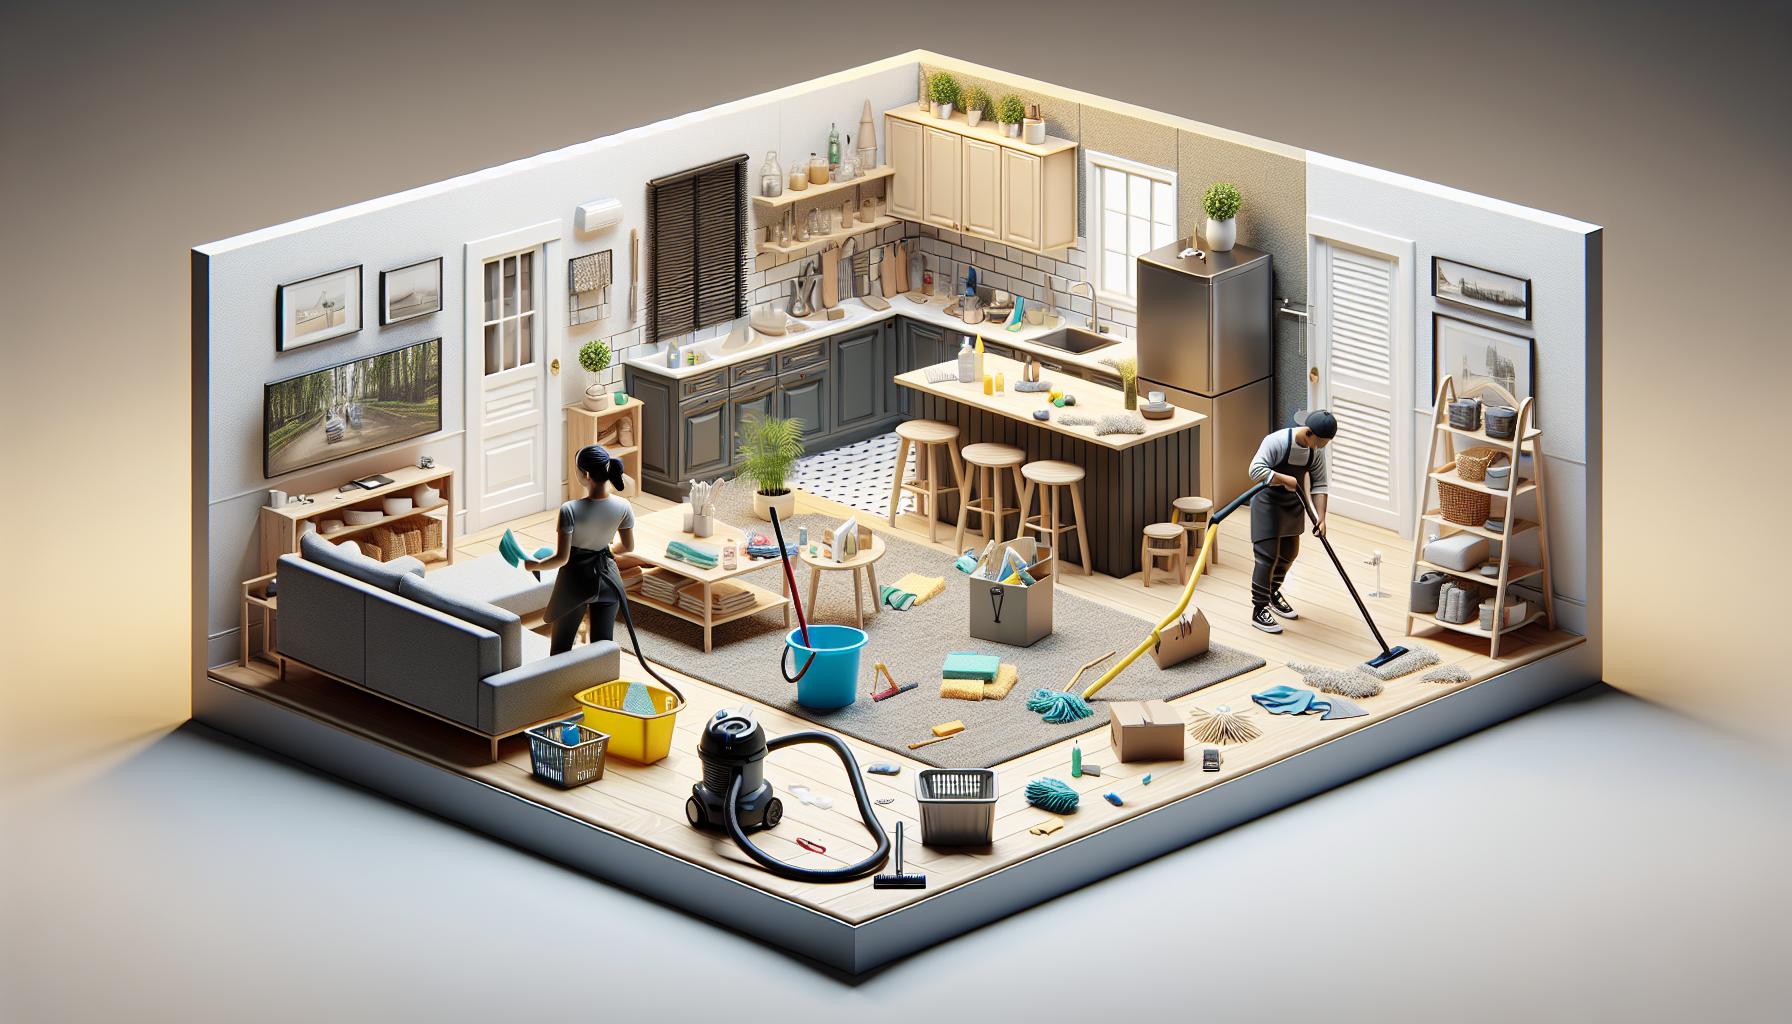
Moving out is a whirlwind of packing, decluttering, and big transitions. But amidst the chaos, there’s one crucial step you can’t afford to overlook: the move-out cleaning. It’s not just about leaving your old place spotless; it’s about securing your security deposit and making a smooth handover to the next occupants.
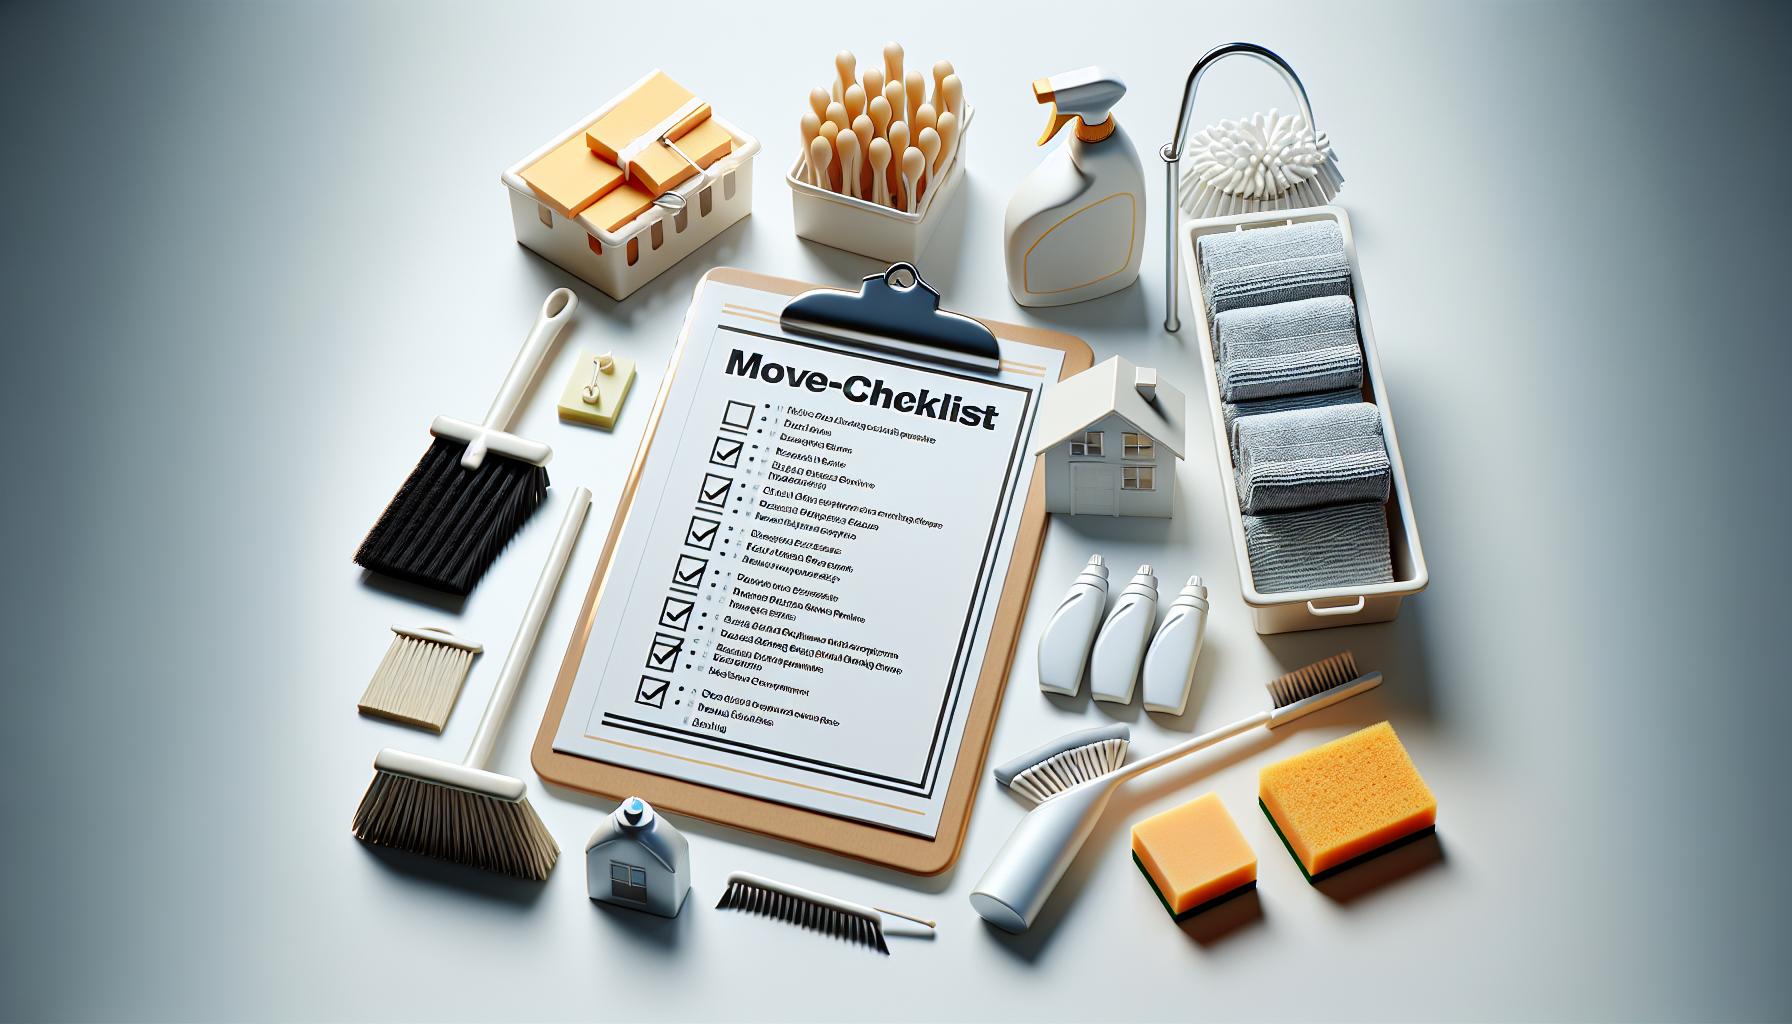
Whether you’re diving into the cleaning yourself or considering professional help, having a comprehensive move-out cleaning checklist is your secret weapon. It ensures no corner is left untouched and eases the stress of moving, letting you focus on settling into your new home. Let’s dive into what your move-out cleaning checklist should cover to make your transition as seamless as possible.
Key Takeaways
-
- A comprehensive move-out cleaning checklist is essential for securing your security deposit and ensuring a smooth transition for the next occupants. It helps you cover all areas, preventing overlooked spots that could cost you financially.
-
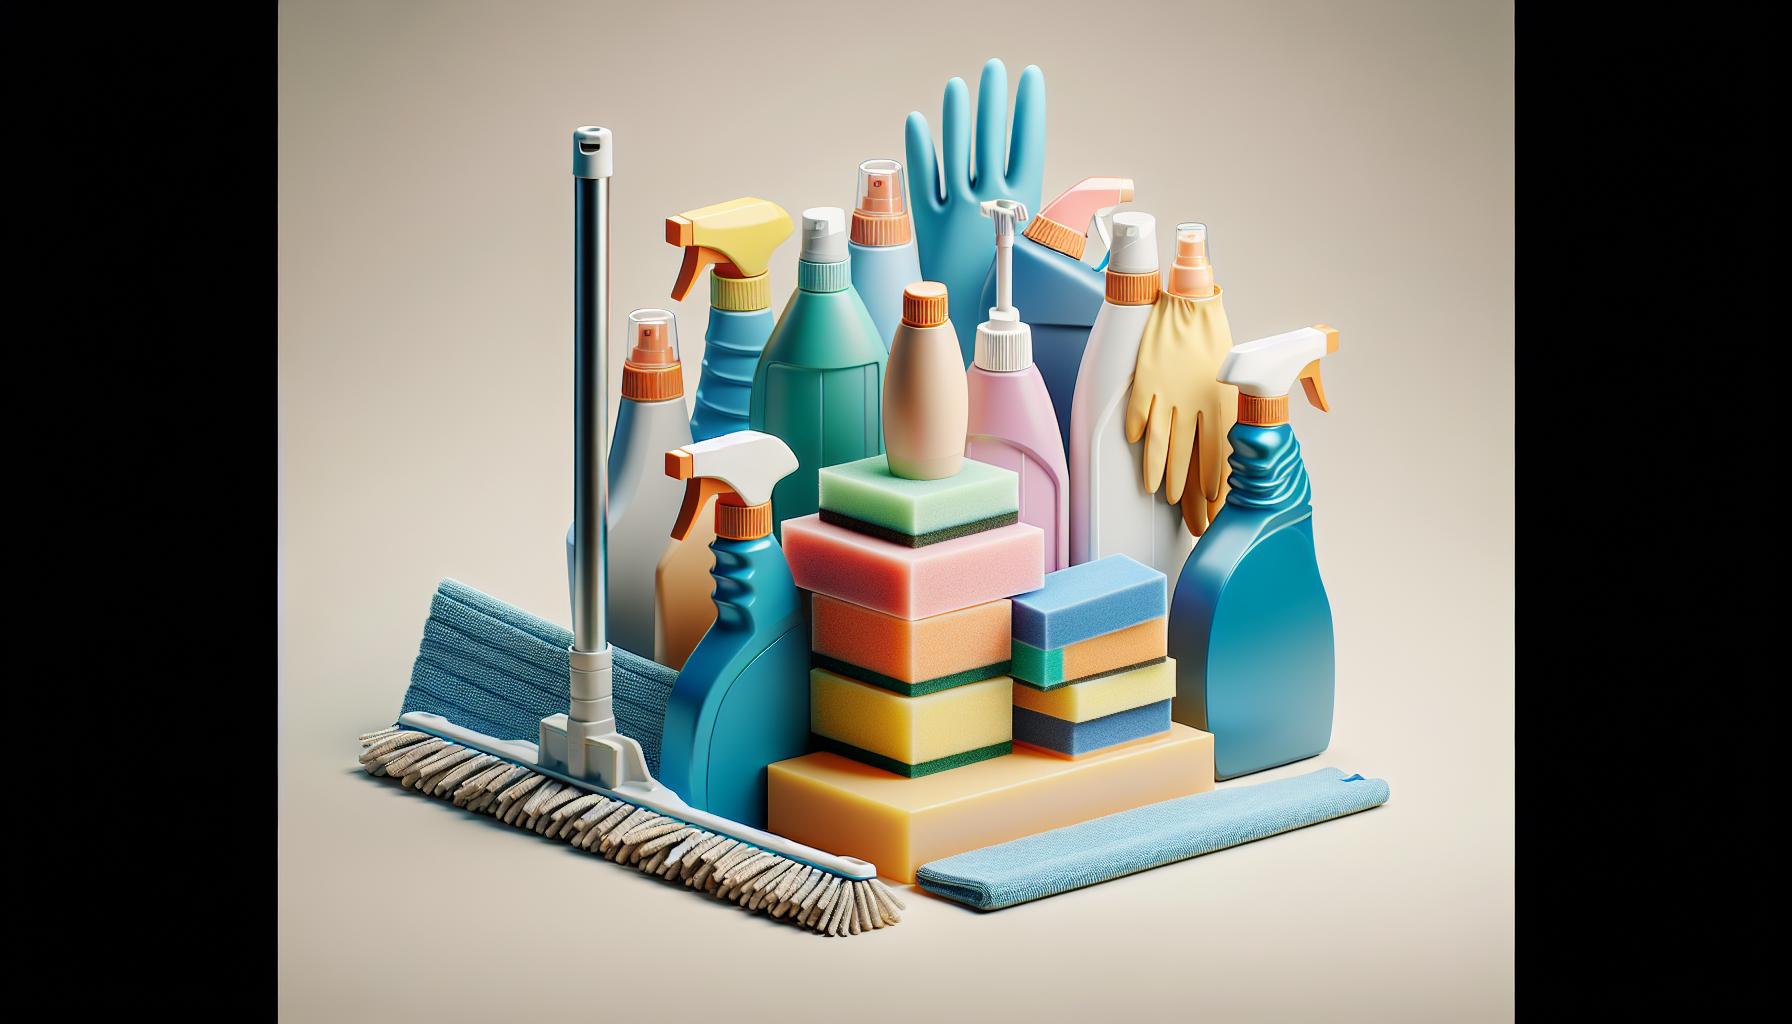
- Before starting your move-out clean, gather all necessary tools and cleaning supplies, including all-purpose cleaners, glass cleaners, microfiber cloths, a sturdy mop, and a vacuum cleaner. This preparation ensures efficiency and effectiveness in your cleaning efforts.
-
- Employ strategic cleaning methods such as starting with the kitchen and bathroom, dusting before vacuuming, and conducting a final spot check to ensure no area is missed. This organized approach saves time and reduces stress during the move-out process.
-
- Consider whether to hire a professional cleaning service based on factors like cost versus convenience, your schedule, and cleaning standards required by your rental agreement. Professional cleaners can often achieve a more thorough clean, which is crucial for getting your full security deposit back.
-
- Paying attention to detail in bedrooms, bathrooms, and living areas is crucial. Use specific strategies for each room type to ensure a deep clean, focusing on often overlooked spots like inside cabinets, under appliances, and around fixtures.
-
- Ensuring you have the right cleaning tools and supplies not only makes the task easier but also helps in restoring the space to its original condition, which is often a requirement of lease agreements and critical for securing your security deposit.
Why You Need a Move Out Cleaning Checklist
When you’re knee-deep in moving boxes and wrapping up your lease, it’s easy to overlook the necessity of a move out cleaning. Yet, ensuring your current home is spotless is crucial for several compelling reasons. Primarily, a comprehensive move out cleaning checklist is your best bet in securing your security deposit. Landlords and property managers are meticulous in their final inspections, and any overlooked nooks could mean a deduction from your deposit.
Apart from the financial benefits, having a move out cleaning checklist promotes a smooth transition for the next occupants. It’s about leaving a good impression and closing this chapter of your life on a positive note. You wouldn’t want to move into a new place and find it dirty, right? Extending the same courtesy can make a huge difference for someone else. Moreover, adhering to a structured cleaning plan alleviates the stress associated with moving.
Think of your checklist as a roadmap; it guides you through each room, ensuring no area is neglected. From the obvious tasks like vacuuming floors to the easily forgotten ones like cleaning inside cabinets, your checklist ensures a thorough clean. The satisfaction of ticking off completed tasks cannot be understated—it’s tangible proof of your progress.
Lastly, utilizing a meticulous move out cleaning checklist can also aid those hiring professional cleaning services. By specifying exactly what needs to be done, you can ensure the service meets your expectations and those of your landlord or property manager. Whether you’re tackling the cleaning yourself or seeking external help, a checklist is indispensable in organizing and executing an effective move out clean.
Move Out Cleaning Tools & Supplies You’ll Need

When you’re gearing up for a thorough move-out clean, having the right tools and supplies at your disposal is crucial. You’ll need a variety of cleaning agents and tools to tackle different surfaces and materials throughout your living space. Start with basics like all-purpose cleaners, glass cleaners, and disinfectants. These will help you address most surfaces in your home from countertops to bathroom tiles.
For tougher jobs, like carpet stains or wall scuffs, you might need more specific products. A good quality carpet cleaner and a spackling compound for minor wall repairs should be on your list. Don’t forget to include baking soda and white vinegar in your arsenal. These natural products are incredibly effective for everything from cleaning ovens to freshening up your washing machine.
-
- Microfiber cloths and sponges: Ideal for dusting and won’t scratch surfaces.
-
- A sturdy mop and bucket: Necessary for giving floors a final wash.
-
- A vacuum cleaner: Ensures carpets and upholstery are dust-free.
-
- A duster with an extendable handle: Makes it easier to reach high corners and light fixtures.
-
- A scrub brush: Helps with stubborn stains in the kitchen and bathroom.
Remember, the goal is to return your apartment or house to its original, pristine condition. That means checking off every item on your cleaning list and making sure no spot is overlooked. With the right tools and supplies, you’ll be well-equipped to tackle this challenge head-on. By ensuring you have everything from a reliable vacuum to a variety of cleaning solutions, you’ll make this process smoother and more efficient.
Cleaning Tips
When you’re getting ready to move out, a well-organized approach to cleaning can save you tons of time and stress. Here are some tips to make your move-out cleaning process as efficient as possible.
Start with a Plan: Before touching a sponge or spray, it’s crucial to have a plan. Divide the house into sections or rooms and tackle them one at a time. This method prevents overwhelm and ensures you don’t miss any spots.
Deep Clean the Kitchen and Bathroom First: These areas can be the most grueling parts of your cleaning journey. By beginning here, you ensure that you have the energy to deal with them properly. Pay close attention to appliances in the kitchen and fixtures in the bathroom. Use a baking soda and vinegar solution for stubborn stains and lime buildup.
Dust Before You Vacuum: Always start by dusting off surfaces, including walls and baseboards. Dust tends to settle on the floor, so save vacuuming for last to ensure you pick up everything that’s been dislodged.
Don’t Forget Windows and Blinds: These are often overlooked but can make a huge difference in the brightness and overall cleanliness of your space. A simple mixture of water and vinegar works wonders on glass without leaving streaks.
Invest in Proper Tools: Ensure you have all necessary cleaning supplies before starting. Quality cleaners, microfiber cloths, a reliable vacuum, and a sturdy mop are essential. Consider environmentally friendly cleaning products for a safer, cleaner home.
Spot Check Once Done: Walk through each room with your checklist after cleaning. This final spot check ensures you haven’t missed any areas and everything is up to the mark for the final inspection.
By following these tips, your move-out cleaning process will be smooth and thorough, leaving you with one less thing to worry about during your move.
Should you hire a cleaning service?

Deciding whether to hire a professional cleaning service or tackle the job yourself is a choice that could significantly impact both your stress levels and your wallet. On one hand, doing it yourself could save you a considerable amount of money. It’s an option that’s particularly appealing if you’re mindful of expenses or enjoy having complete control over the cleaning process. However, it requires time and effort that you may not have, especially during the hectic period of moving.
On the other hand, hiring a professional cleaning service offers benefits that go beyond the convenience of saving time. Professionals have the experience, tools, and supplies to clean your place more thoroughly than you might be able to on your own. This is particularly important if your security deposit hinges on the condition in which you leave your current home.
Factors to Consider
-
- Cost vs. Convenience: Hiring professionals can be more expensive but think of it as buying peace of mind and time to focus on other moving tasks.
-
- Your Schedule: If you’re juggling a busy job, packing, and possibly taking care of kids, fitting in time to clean might be unrealistic.
-
- Cleaning Standards: Rental agreements often require the property to be in the same condition as when you moved in. Professional cleaners are skilled at meeting these standards, which might be more demanding than you expect.
-
- List down all tasks and estimate how long it would take you to complete them.
-
- Get quotes from multiple cleaning services to compare prices.
-
- Consider the value of your time. If you earn more per hour than what you’d pay for a cleaning service, it might be financially sensible to hire professionals.
Making an informed decision requires weighing the pros and cons based on your specific circumstances. If ensuring you get your full security deposit back is a priority, and you can afford the service, hiring professionals might be the way to go. On the contrary, if you’re on a tight budget and have the time, taking on the cleaning yourself could be more beneficial.
CLEANING BEDROOMS FOR A MOVE
When it’s time to tackle the bedrooms during your move-out clean, having a strategic approach will not only save time but ensure you don’t miss any spots that could cost you part of your security deposit. Remember, moving your belongings out first is vital for an efficient cleaning process. Without furniture and personal items in the way, you can easily access floors, walls, and windows.
Cleaning bedrooms might seem straightforward, but it’s the attention to detail that makes all the difference. Start with wiping down door jams, corners, window sills, and any surface notorious for dust and debris accumulation. Spraying and cleaning the inside of the windows is next, followed by baseboards, trim work, and molding. If your bedroom is carpeted, a thorough vacuuming is essential. For hardwood floors, mopping will bring back their shine and ensure they’re inspection-ready.
Considering the condition and size of your space is crucial for planning. Here’s a helpful estimate for cleaning times based on apartment or house size:
| Space Size | Estimated Cleaning Time |
|---|---|
| One-bedroom apartment | 4 hours |
| Two-bedroom house | 6 hours |
| Three or four-bedroom house | 8-9 hours |
However, keep in mind that if your house is still furnished or cluttered, these numbers can double. Your approach should be methodical—begin with less frequently used spaces like guest bedrooms, gradually moving toward areas that see more daily use. Dust surfaces from the top down to prevent dirt from settling on freshly cleaned areas.
This segment of your move-out cleaning checklist ensures bedrooms are left spotless, significantly increasing the likelihood of getting your full security deposit back. Focus on these details, and you’ll navigate the cleaning process with greater ease and efficiency.
MOVE-OUT CLEANING FOR BATHROOMS

When tackling your move-out cleaning, bathrooms demand extra attention. They can make or break the impression of your entire cleaning effort. Start with the basics: remove all personal items from cabinets and shelves. This decluttering step clears the way for a thorough clean. Next, focus on the smaller details that might be overlooked.
Shower and Tub: Soap scum and mildew can build up over time, making these areas a priority. Use a specialized bathroom cleaner or a mixture of vinegar and baking soda for natural cleaning. Ensure you scrub the shower walls, tub, and shower head to leave them sparkling.
Toilet: Clean both the inside and outside of the toilet with a strong disinfectant. Pay particular attention to the base and the back, as these areas tend to accumulate dust and grime.
Sink and Countertops: Wipe down the sink, faucet, and countertops using a disinfecting wipe or spray. Don’t forget to clean out and wipe down any drawers or cabinets as well.
Mirrors: Use a streak-free glass cleaner for mirrors. A pro tip is to wipe with a microfiber cloth or old newspaper to avoid streaks.
Floor: Sweep and mop the bathroom floor last to ensure you’re not tracking dirt around after cleaning. Pay extra attention to corners and baseboards where hair and dust collect.
Exhaust Fan and Vents: Often neglected, clean these features to remove dust buildup. A quick vacuum with a brush attachment works well for this task.
For a successful move-out clean, it’s crucial to tackle the bathroom with a detailed approach. By breaking down the tasks and focusing on areas that collect the most grime, you’ll ensure your bathroom is in top condition for inspection.
CLEANING THE KITCHEN WHEN MOVING
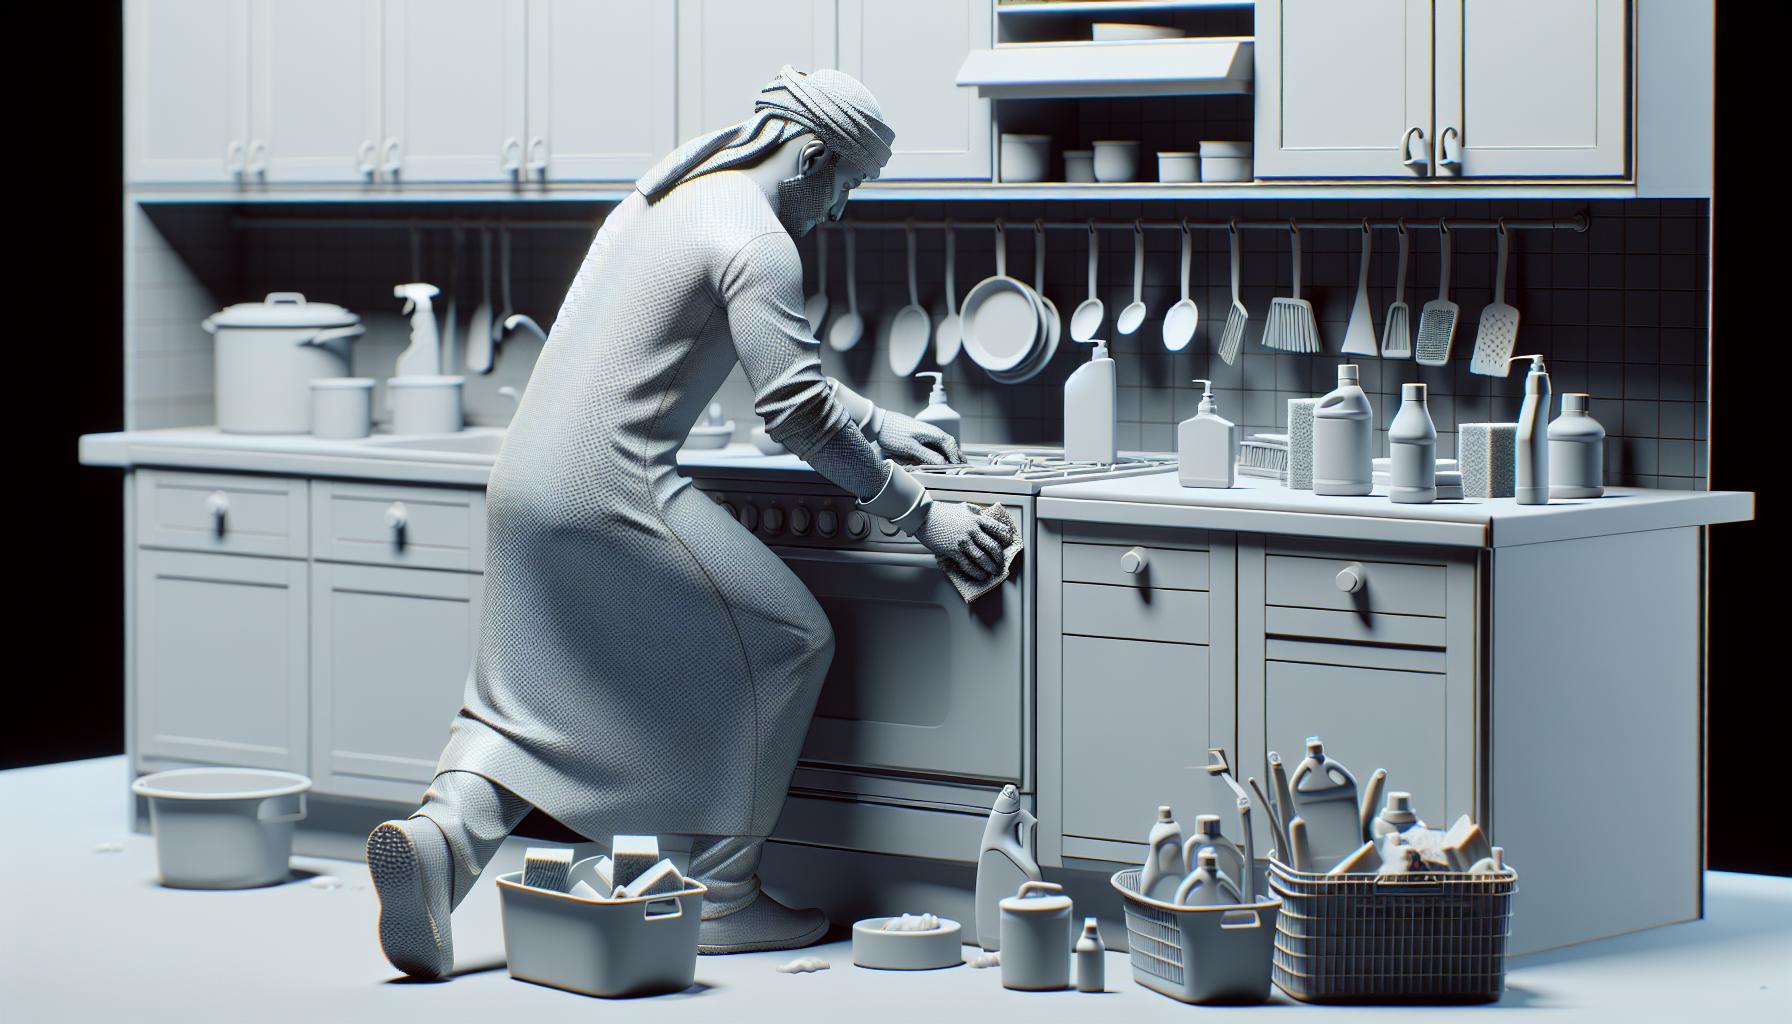
When it’s time to tackle the kitchen during your move-out clean, a strategic approach is key. This room sees a lot of action, from morning coffees to midnight snacks, making it a hotspot for dirt, grime, and grease. You’ll want to start with the larger tasks and move towards the detailed cleaning to ensure nothing gets overlooked. Here’s how to make your kitchen sparkle:
Clear and Clean Countertops and Backsplash
First, remove all appliances and items from countertops to give yourself a clear workspace. Using a quality all-purpose cleaner, scrub the countertops and backsplash thoroughly. Pay extra attention to areas around the sink and stove, as they tend to accumulate more grime.
Deep Clean Appliances
Your kitchen’s appliances require special attention. Ensure to:
-
- Clean inside and outside of cabinets and drawers
-
- Wipe down the exterior of large appliances
-
- Deep clean the inside of the microwave, refrigerator, and oven
Remember, moving the stove and fridge to clean down and around them is often required by property management during a move-out cleaning.
Final Touches: Dusting and Floors
With surfaces and appliances taken care of, focus on dusting areas like interior glass, blinds, ledges, and baseboards. Sweeping, mopping hard surface floors, and vacuuming carpets round off the kitchen cleaning. This detailed approach not only makes your kitchen look better but also helps ensure you get your full security deposit back.
Armed with this checklist, you’re now ready to tackle one of the most daunting parts of moving out. Remember, investing time in cleaning your kitchen pays off in the end, making the move smoother and satisfying property management’s requirements.
MOVE-OUT CLEANING TIPS FOR LIVING AREAS

When you’re gearing up for a move, every minute counts. Living areas, encompassing your living room, dining room, and any hallways, demand special attention. They’re where life happens, and as such, they accumulate more wear and tear. To ensure you leave your space spotless and secure that deposit, follow these expert tips.
First, tackle the floors. If you have carpet, consider renting a steam cleaner to remove deeply embedded dirt and stains. For hardwood or tile, start with a thorough sweep or vacuum, followed by mopping. Don’t forget to clean the baseboards and corners, where dust and pet hair tend to gather.
Next, focus on windows and walls. Clean the windows inside out, using a lint-free cloth or an old newspaper to avoid streaks. Walls can be tricky, especially if there are scuff marks or crayon drawings. A magic eraser can be incredibly effective for these; however, for more significant damage like holes from picture frames or mounts, spackling paste is your best bet. Once dry, touch up with matching paint. Remember, light fixtures and ceiling fans should not be overlooked. Dust them thoroughly, and replace any burnt-out bulbs.
Furniture also needs attention. Vacuum sofas and chairs, paying close attention to the crevices where crumbs and other debris hide. For wood furniture, a gentle wood cleaner can bring back the shine and remove fingerprints.
Last but not least, declutter. Moving is an excellent opportunity to sort through your belongings and decide what to take or leave. A clutter-free space not only appears cleaner but also simplifies the rest of your cleaning process.
By paying attention to these areas, you’re not just cleaning; you’re restoring the space to its original condition, which is key to moving out without a hitch.
CLEANING TOOLS FOR MOVING
When you’re gearing up for a move, having the right cleaning tools can make a world of difference. Not only will they help you tackle the dirt and grime accumulated over time, but they’ll also ensure you leave your old place in tip-top condition for the next occupants. Here’s a list of must-have cleaning supplies to keep in your arsenal:
-
- Microfiber cloths: These are ideal for dusting and polishing surfaces without leaving streaks.
-
- A high-quality vacuum cleaner: Essential for removing dust, pet hair, and other debris from floors and upholstery.
-
- Scrub brushes: A set of brushes in various sizes will help you clean grout lines, tile surfaces, and hard-to-reach areas.
-
- A mop and bucket: For thoroughly cleaning tile and hardwood floors.
-
- Cleaning solutions: Including an all-purpose cleaner, glass cleaner, and disinfectant. Consider eco-friendly options for a safer, greener clean.
-
- Spackling paste: To fill in any nail holes or minor wall damages you might encounter.
-
- Paint and a small brush: For touch-ups on walls to make sure everything looks as good as new.
Remember, the goal of move-out cleaning isn’t just to clean, but to restore the space to its original, or better, condition. Start with the rooms and areas that need the most attention and work your way through the checklist methodically. For example, bathrooms and kitchens often require the most work due to their frequent use and the types of messes that occur there. Begin with these high-traffic areas, using your cleaning tools to tackle each task efficiently.
Armed with the right tools, you’ll find the cleaning process less daunting. Plus, you’ll save yourself time and effort, ensuring a smoother transition to your new home. Keep in mind that thorough cleaning is not just a courtesy but often a requirement in lease agreements, which can affect your security deposit.
How to Handle Small Repairs / Updates
Tackling small repairs and updates is the final touch in your move-out cleaning process. Whether you’re doing the cleaning yourself or hiring professionals, don’t overlook the importance of minor fixes like patching holes, touching up paint, or replacing light bulbs. These details can make a significant difference in the overall appearance of your space and play a crucial role in securing your full security deposit back. Remember, the goal is to return the property to its original condition or better. By following the comprehensive checklist provided, you’ve ensured every corner of your home shines, from deep cleaning to small repairs. Now, you’re ready to move on confidently, knowing you’ve left your old place in impeccable condition.
Frequently Asked Questions
WHAT’S INCLUDED IN A MOVE-OUT CLEANING?
Move-out cleaning typically includes deep cleaning of the entire home to meet certain cleanliness standards often required in rental agreements. This can involve dusting, vacuuming, sanitizing bathrooms and kitchens, and cleaning inside cabinets and appliances. Checking your rental or purchase agreement for specific requirements is advisable.
Why do I need a Move Out Cleaning Checklist?
A Move Out Cleaning Checklist ensures you clean every necessary area of your home before moving out. It helps manage the stressful process of moving by organizing the cleaning tasks, essential for homeowners wanting to leave their property in excellent condition and for renters aiming to get their full deposit back.
How do I handle small repairs and updates?
For small repairs, such as filling holes or repainting, first, get spackle to fill in the drywall holes. Then, match the paint color to your wall at a hardware store. After the spackle dries, paint over these areas. This helps return your property to its original condition, often a requirement for moving out.
Why do I need to clean before moving out?
Cleaning before moving out is crucial to fulfill obligations under a rental agreement or sale contract. It ensures the return of your security deposit as a renter and adheres to clauses in contracts that necessitate a clean home for the next occupant, avoiding additional fees or penalties.
What’s on the move out cleaning checklist?
A comprehensive move-out cleaning checklist includes removing personal property, vacuuming floors, dusting surfaces, cleaning inside cabinets, wiping down appliances, scrubbing toilets, sinks, showers, and bathtubs, cleaning out closets, removing nails and wall anchors, filling holes, repairing drywall, touching up paint, sanitizing the fridge and freezer, and cleaning the oven and stovetop. This checklist aims to leave your home in pristine condition for the next occupants.
Ken Lyons is one of the founding members of Cleaner Digs. He is also the senior editor and contributing author. Ken has owned and operated two cleaning companies in the past: one commercial and one that serviced residential customers. He writes for Clean Digs to share his professional expertise on cleaning and organization. He's been a fastidious cleaning nut and writing about it for more than a decade.